Inground Trampoline - A Look At Backyard Fun Sunk Into The Earth
Thinking about adding a little something extra to your outdoor living area, something that brings joy and a good bounce without taking over the whole yard? An inground trampoline, you know, one of those springy surfaces that sits level with the grass, might just be what you are looking for. It offers a rather neat way to enjoy active play, blending into the scenery in a way that freestanding ones simply cannot, making your garden feel more open and less cluttered, which is actually quite appealing to many.
These particular trampolines are, in essence, fixed into the very ground, meaning they are not built up above the earth like some others you might see. This design choice, in some respects, makes them quite different from what you might traditionally picture when you think of a trampoline. They become, basically, a part of the landscape, offering a smooth, even surface that you can just walk right onto, and then, of course, jump with glee.
So, if you are curious about what makes these special play spots tick, how they fit into a yard, or what it might take to bring one home, we will talk about all of that. We are going to chat about the ins and outs of an inground trampoline, looking at what they are, why folks like them, and what goes into getting one set up and keeping it nice. You might find, in a way, that they offer a surprisingly neat solution for backyard fun.
Table of Contents
- What Exactly Is an Inground Trampoline?
- Why Consider an Inground Trampoline for Your Yard?
- Is an Inground Trampoline Hard to Put In?
- What Should You Know About Living with an Inground Trampoline?
- What Are the Costs for an Inground Trampoline?
What Exactly Is an Inground Trampoline?
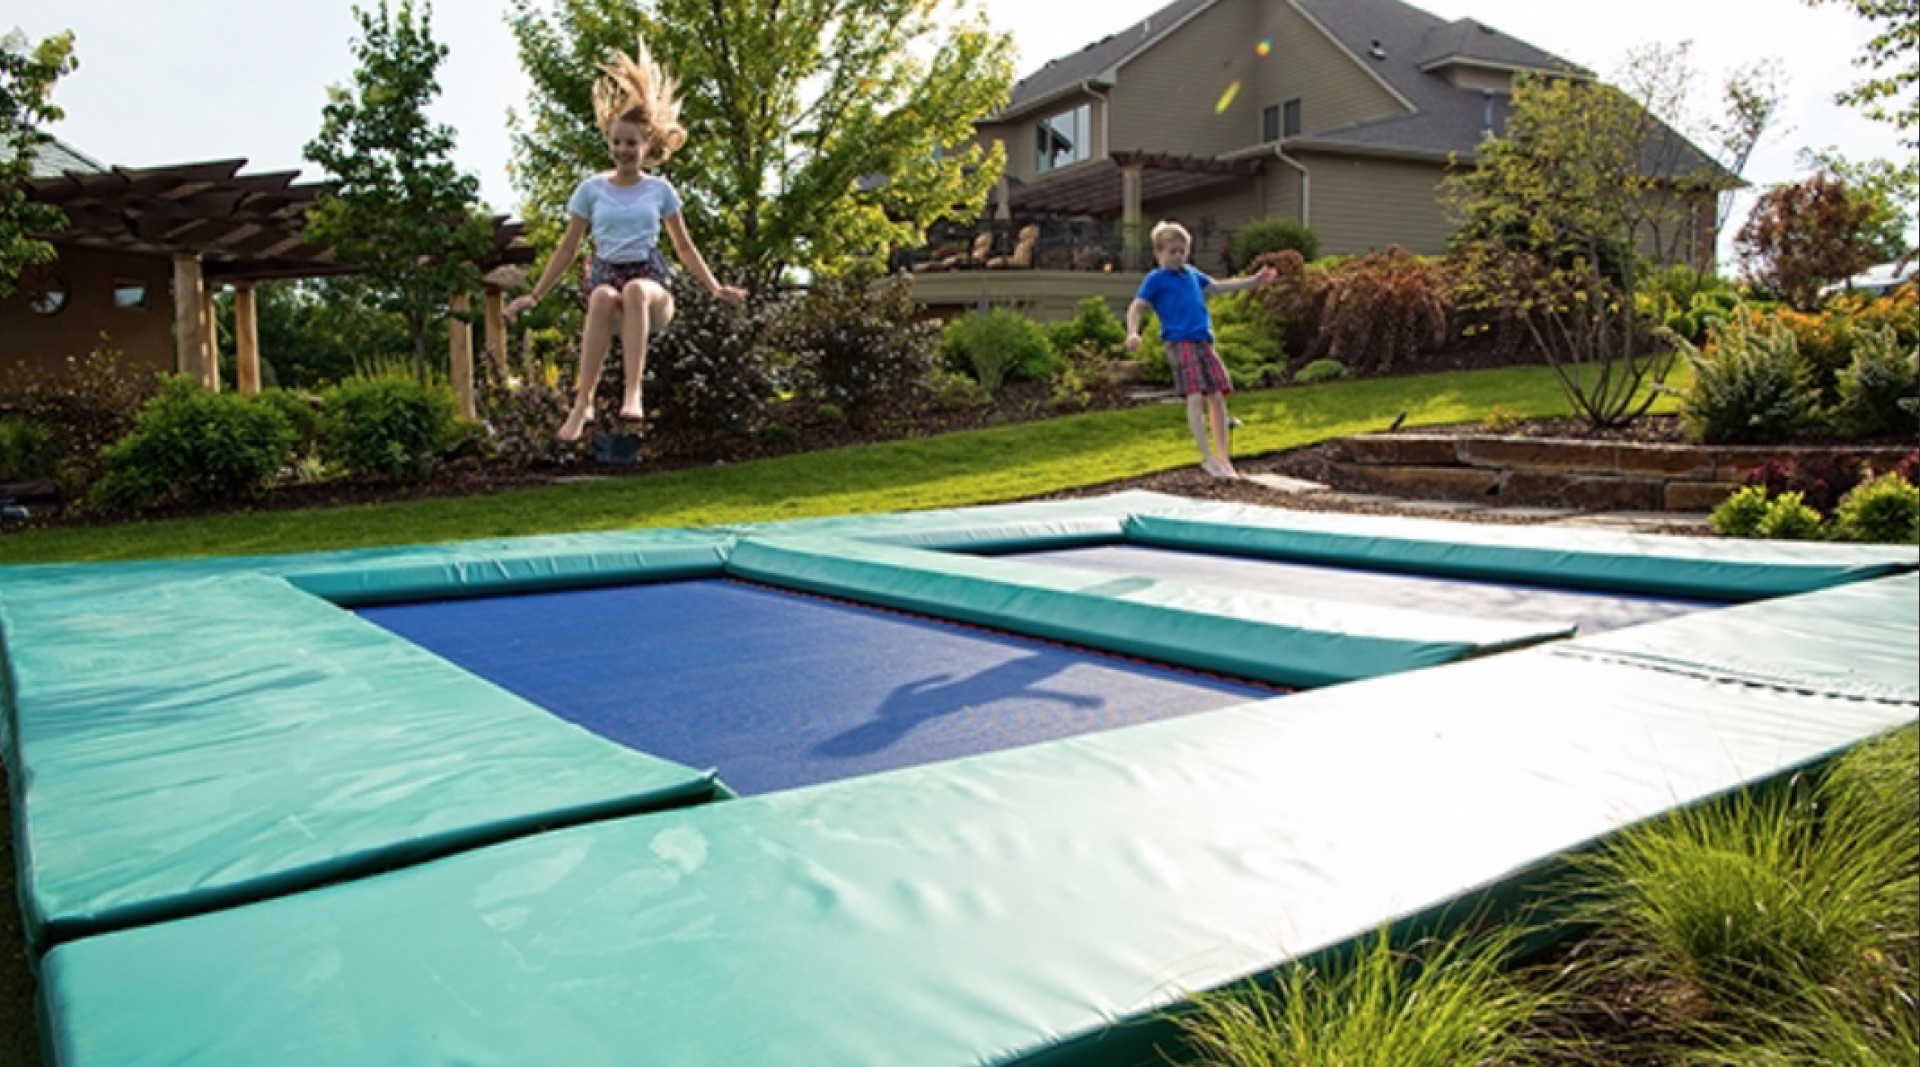
When we talk about an inground trampoline, we are pretty much talking about a bouncing surface that sits, well, sunk into the ground. It is, you know, a piece of play equipment that is put into a hole dug specifically for it, so the jumping mat ends up being at the same height as the surrounding lawn. This means you do not have to climb up onto it, which is actually a pretty big difference from the kind of trampolines you often see with legs standing tall above the grass. The whole setup is meant to be flush with the earth, giving it a very smooth and integrated look in your outdoor area. It is, basically, built right into the landscape, becoming a fixed part of your yard rather than something that just sits on top.
This style of trampoline is, in essence, the opposite of something that is "aboveground." Think of it like a swimming pool that is set into the earth compared to one that stands on its own. The definition of "inground" itself points to something that is "sunk into the ground" or "built into the ground," and that is exactly what happens with these fun bouncers. They are fixed in place, making them a more permanent fixture in your garden. The frame and springs are hidden away beneath the surface, leaving just the springy mat visible, which, honestly, gives a very clean appearance. So, when you see an inground trampoline, you are looking at something that has been carefully placed to become one with the natural lines of your outdoor space, offering a neat spot for some energetic activity.
Why Consider an Inground Trampoline for Your Yard?
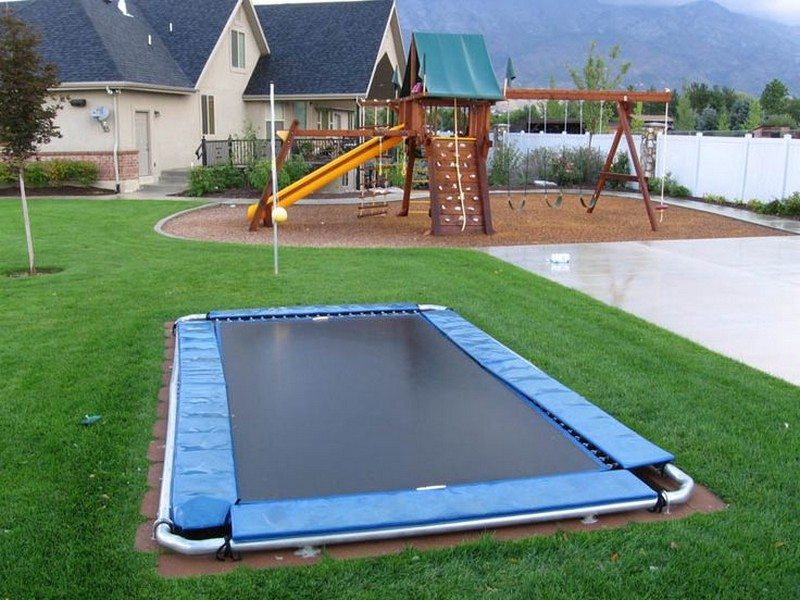
There are a few good reasons why someone might lean towards an inground trampoline for their outdoor spot. One of the first things people notice is how it looks. Because it sits level with the grass, it does not stick out or block the view across your yard. This means your garden can feel much more open and spacious, not cluttered by a big, tall structure. It sort of just melts into the background, letting your plants and other garden features really shine. For those who care a lot about how their yard appears, this can be a pretty big plus, giving a feeling of calm and order. It is, honestly, a way to add a fun element without making your space feel smaller or less inviting, which is sometimes a concern with other outdoor play items.
How an Inground Trampoline Changes Your Outdoor Space
An inground trampoline, you know, really changes the feel of an outdoor space in some unique ways. Since it is not towering over everything, it creates a much more open and flowing look. You can walk right up to it, and it feels like a natural part of the ground, rather than a separate piece of equipment that just happens to be there. This can make your yard feel bigger and more connected, almost like the trampoline is a special, springy patch of grass. It also means you do not have to worry about a large structure casting shadows or blocking sunlight from other parts of your garden, which, in a way, helps everything grow better and feel more balanced. Basically, it helps keep your yard looking tidy and well-thought-out, rather than just having something plopped down in the middle of it. It’s a rather clever way to add play without sacrificing visual appeal.
Beyond just how it looks, the way an inground trampoline sits at ground level can also change how you use your outdoor area. It might make it easier to supervise younger jumpers, for instance, since you are already at their level. There is no need for steps or ladders to get on, so it is just a simple step on and off, which is actually quite convenient for everyone. This can also mean less worry about someone falling off from a height, which is a common concern with traditional trampolines. So, in some respects, it is not just about the look, but also about how it changes the whole experience of having a trampoline, making it feel a bit more integrated into daily life and play in the garden. It definitely feels more like a natural part of the backyard activities, you know.
Is an Inground Trampoline Hard to Put In?
Putting in an inground trampoline does involve a bit more effort than simply assembling one above the ground. Since it is meant to be sunk into the earth, the first big step is, of course, digging a hole. This hole needs to be the right size and shape to fit the trampoline's frame and allow enough space for the mat to flex downwards when someone jumps. It is not just a simple scoop; you have to think about drainage, too, so water does not just sit in the hole. This part can be quite a task, sometimes requiring special tools or even a little help from someone who knows about moving earth. So, in a way, it is a bigger project than you might first imagine, definitely more involved than just putting together a kit on a flat surface.
The Process of Setting Up an Inground Trampoline
The process of setting up an inground trampoline typically starts with picking the perfect spot in your yard, one that is pretty level and has enough room around it. Then comes the digging, which, you know, can take some time and effort. You will need to create a pit that matches the dimensions of your chosen trampoline, making sure the sides are stable and that any water can get away easily. Sometimes, people put in a drainage system or a layer of gravel at the bottom to help with this. After the hole is ready, the trampoline frame is put together and lowered into the pit, making sure it sits level with the ground. This often involves careful measurements to get it just right.
Once the frame of the inground trampoline is settled in its spot, the springs and the jumping mat are attached, just like with any other trampoline. However, because it is in the ground, there are often special venting systems or skirtings around the edge to allow air to move freely when people jump. This is actually quite important for a good bounce. The whole idea is to have the jumping surface be flush with your lawn, so the final steps involve making sure the surrounding earth is neat and tidy around the edges of the trampoline. It is a bit more involved than setting up a regular one, but the end result, you know, is a very integrated and neat looking play area that blends in with your garden. It is, basically, a more permanent addition to your outdoor fun.
What Should You Know About Living with an Inground Trampoline?
Having an inground trampoline in your yard can bring a lot of enjoyment, but there are a few things to keep in mind once it is in place. Because it is sunk into the ground, it often feels like a more natural part of the landscape, which is really quite lovely. You do not have a big structure sitting above the grass, so your yard might feel more open and spacious. This can also mean less worry about wind picking it up or it becoming an eyesore. It is just there, ready for fun, blending in with your green space. However, because it is in the ground, you might find that things like leaves, dirt, or other bits from the garden can collect underneath it, so a little bit of regular clearing out might be needed to keep things tidy.
Another aspect of living with an inground trampoline is how it affects the flow of your yard. Since it is at ground level, it is very easy to step onto and off of, which is a definite plus for younger children or those who might find climbing a ladder a bit tricky. This also means the area around it can be used more freely without a tall barrier. You can, for example, have garden beds or paths right up to the edge of the trampoline, making it a truly integrated part of your outdoor design. So, in some respects, it is not just a piece of play equipment; it becomes a feature of your garden, shaping how you and others interact with the space. It is, honestly, a rather neat way to combine recreation with garden design.
What Are the Costs for an Inground Trampoline?
When you think about getting an inground trampoline, the cost is, of course, something that comes to mind. Just like with other things that are built into the ground, like certain kinds of pools, the total amount you spend can vary quite a bit. It is not just the price of the trampoline itself, but also the work involved in getting it put in. The digging, for example, can be a significant part of the overall expense, especially if your yard has tough soil or needs special drainage solutions. So, you know, it is not always a straightforward number, and it really depends on a few different things.
Understanding the Price Tag of an Inground Trampoline
The price tag for an inground trampoline can differ based on a few key elements. For one, the size of the trampoline plays a pretty big part. A larger trampoline will generally cost more, both for the item itself and for the bigger hole that needs to be dug. The materials it is made from also affect the price; some are built with more durable parts that might cost a little extra but could last longer. Then there is the installation, which is often the biggest variable. If you are doing the digging yourself, you might save some money, but if you hire someone, their labor costs will add to the total.
So, in some respects, when you are looking at the overall cost of an inground trampoline, you are considering the item itself, the labor for putting it in, and any extra bits needed for the hole, like drainage materials or retaining walls. The ground conditions in your specific yard can also make a difference; a very rocky area, for instance, might mean more work and thus a higher cost for digging. It is, basically, a project with several moving parts, and each one contributes to the final amount you will pay. It is always a good idea to get a clear idea of all these different aspects before you start, so you have a pretty good picture of what to expect.
This discussion has gone over what an inground trampoline is, how it differs from other types, and some of the reasons people choose to have one. We have touched on how it can change the look and feel of your yard, making it seem more open and integrated. We also talked about the process of getting one set up, which involves digging and careful placement, and what it is like to have one as a part of your daily outdoor life. Finally, we looked at how the costs for an inground trampoline can vary quite a bit depending on things like size, materials, and the work involved in putting it in.

In ground trampolines – Artofit
In-Ground Trampolines | Commercial Quality In Your Backyard
In-Ground Trampoline DIY: Step-by-Step Guide to Build Your Own Backyard
